


Blog
How to Design a Custom Automation System Step by Step

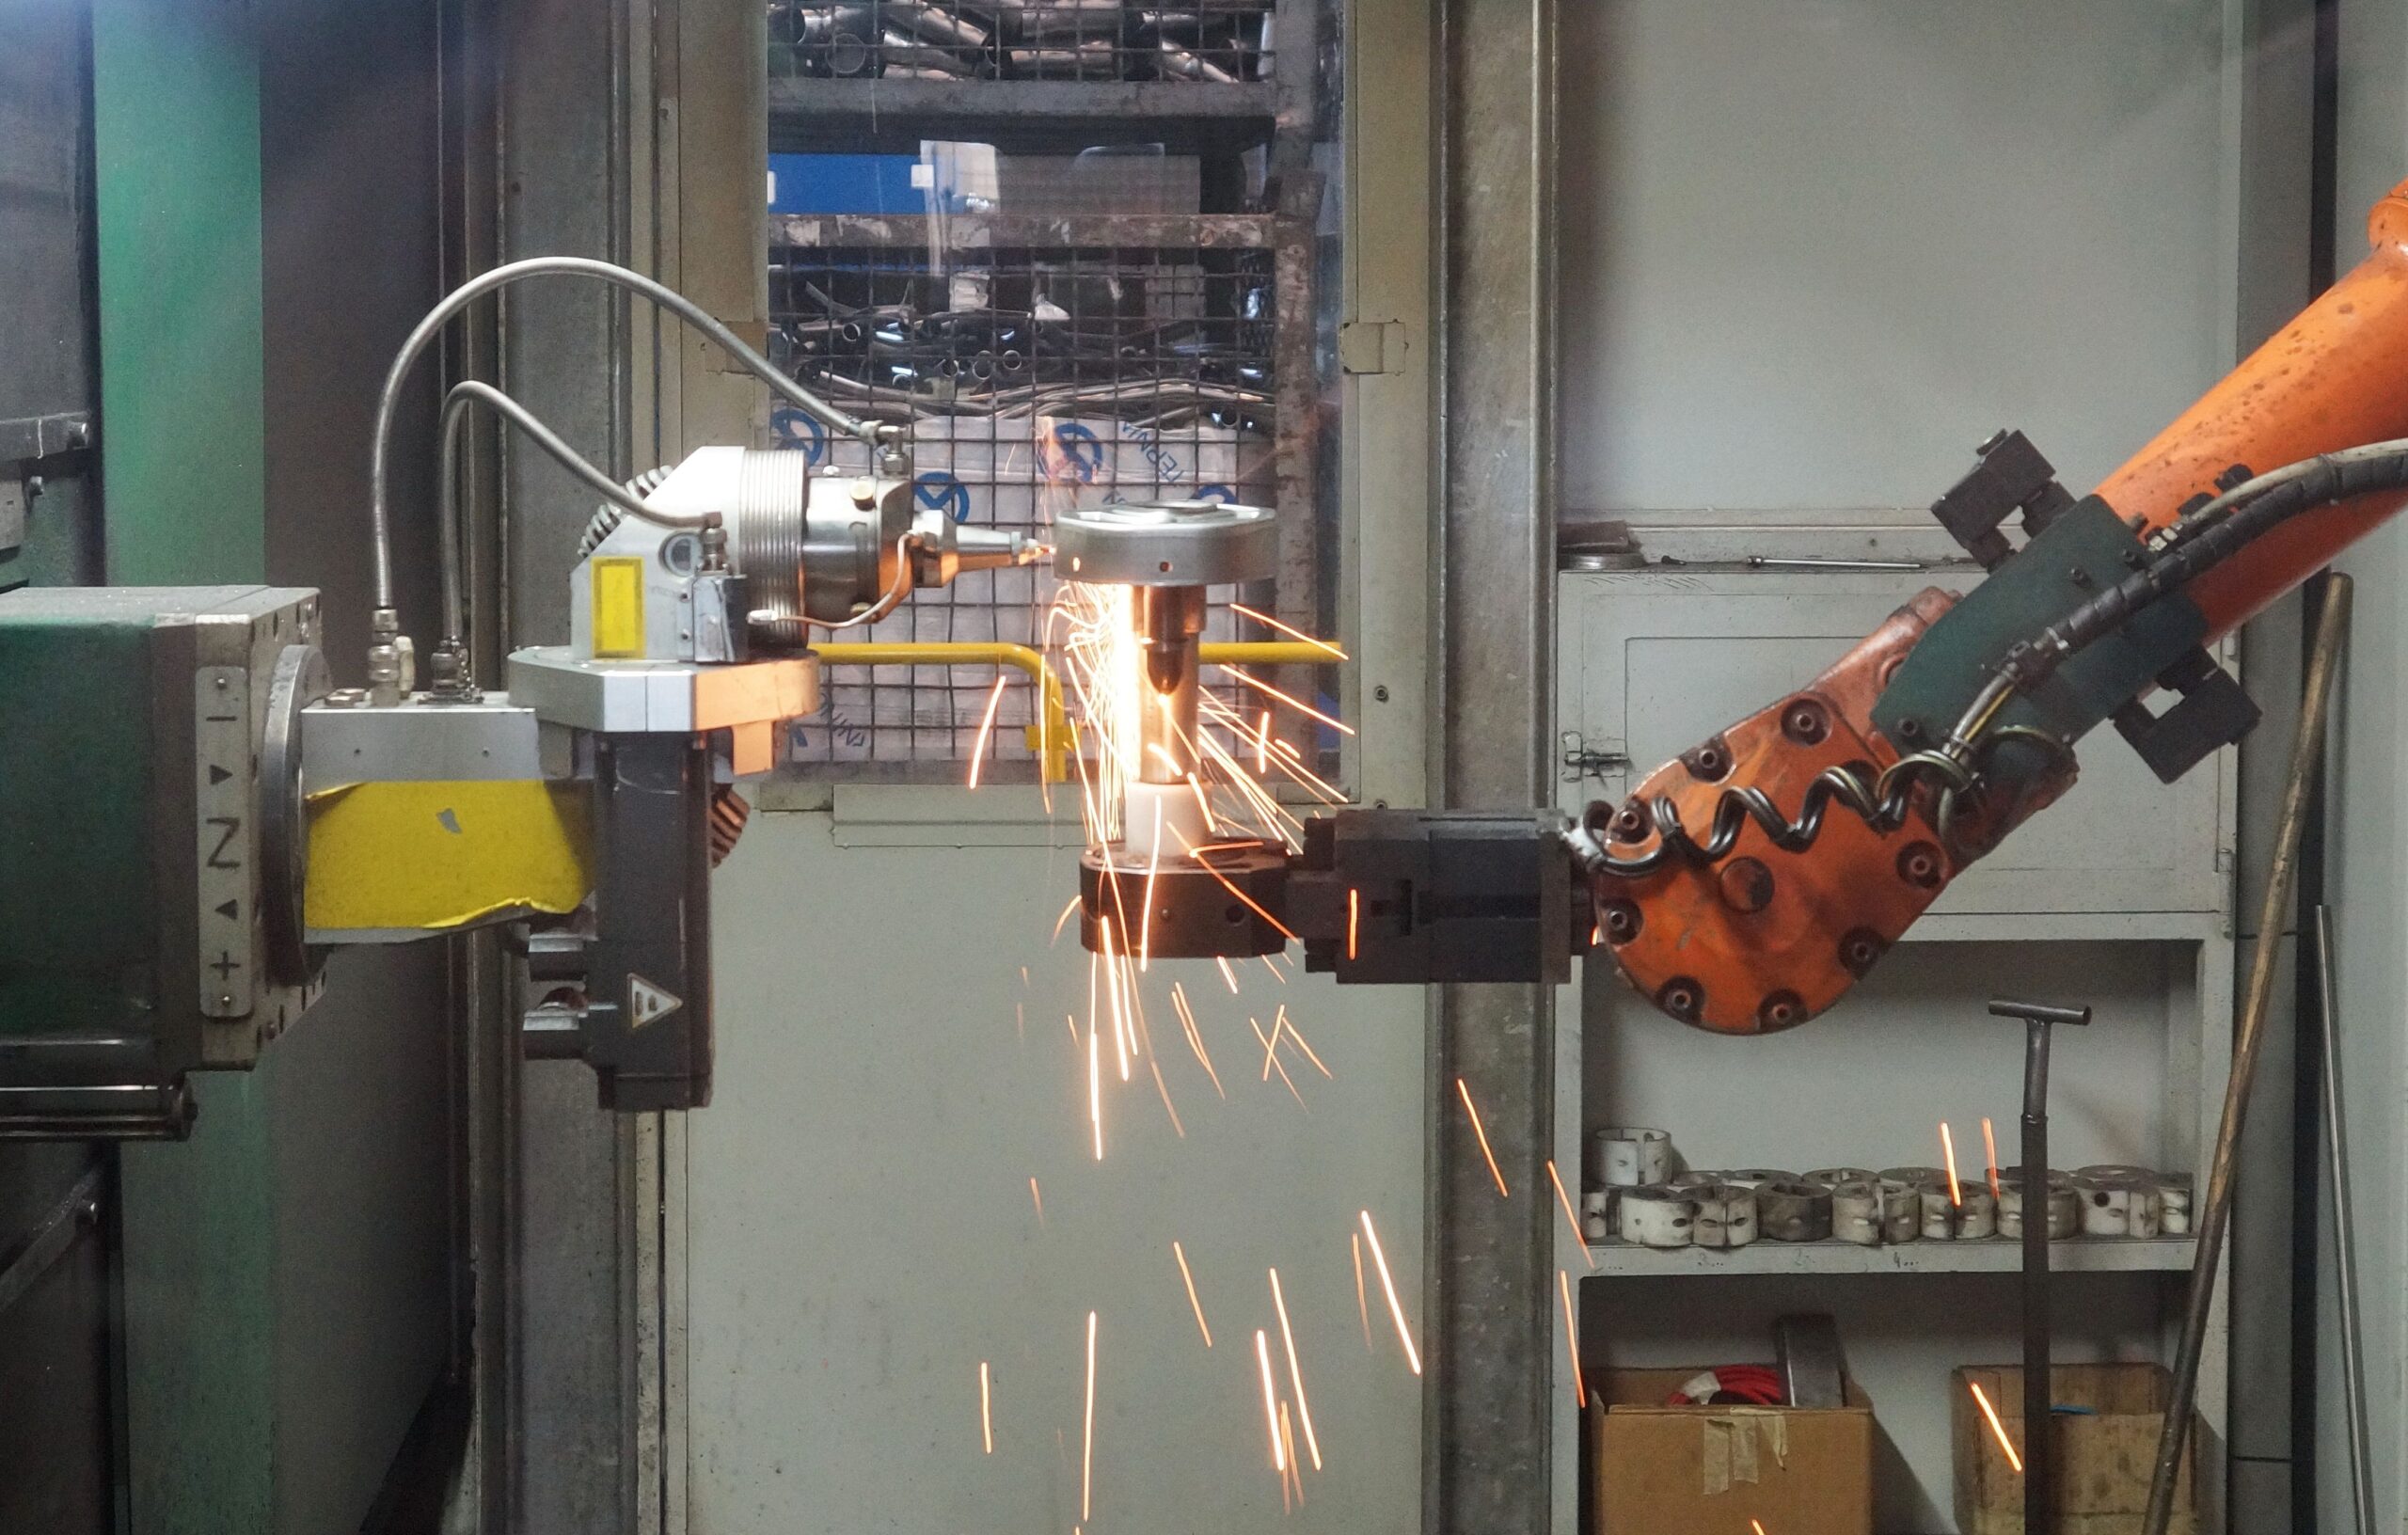
Designing a custom automation system is not about jumping straight into hardware selection or software logic. It’s a structured process that starts long before the first component is specified and continues well after the system goes live. When manufacturers rush this process, automation becomes expensive, rigid, and difficult to scale. When they approach it step by step, automation turns into a long-term operational asset.
This guide walks through how to design a custom automation system step by step, focusing on clarity, alignment, and practical decision-making. The goal is not complexity for its own sake, but a system that fits your production reality today and adapts smoothly as your needs evolve.
Step 1: Define the Problem You’re Actually Solving
Every successful automation project starts with a clearly defined problem. Not a vague goal like “increase efficiency,” but a specific operational challenge that needs resolution. This could involve inconsistent cycle times, frequent process interruptions, quality variability, or bottlenecks that restrict throughput.
At this stage, it’s important to separate symptoms from root causes. A slow production line might not need faster machines—it might need better coordination between existing processes. Automation design becomes much stronger when it addresses the underlying issue instead of reacting to surface-level frustrations.
Clear problem definition creates alignment across engineering, operations, and management. It ensures everyone understands why automation is being introduced and what success should look like.
Step 2: Map the Existing Process in Detail
Before designing anything new, you need a deep understanding of how the current process actually works—not how it’s supposed to work on paper. This means documenting workflows, handoffs, decision points, and variations that occur during normal operation.
Process mapping helps uncover inefficiencies that often go unnoticed in daily routines. It also reveals constraints that any automation system must respect, such as space limitations, safety requirements, or upstream and downstream dependencies.
This step creates the foundation for intelligent design. Without it, automation risks reinforcing inefficiencies instead of improving them.
Step 3: Define Functional and Performance Requirements for the Custom Automation System
Once the process is clearly understood, the next step is translating operational needs into functional requirements. These requirements define what the system must do, how reliably it must perform, and under what conditions it should operate.
Performance expectations should be realistic and measurable. Cycle times, accuracy thresholds, uptime targets, and integration requirements all belong here. Clear requirements prevent scope creep and ensure the final system delivers meaningful value.
At this stage, collaboration is key. Input from operators, maintenance teams, and engineers ensures the system supports real-world usage, not just theoretical performance.
Step 4: Design the System Architecture
System architecture defines how all components work together. This includes control systems, sensors, actuators, communication networks, and interfaces. A well-designed architecture balances functionality with simplicity, ensuring the system remains manageable over its lifespan.
Instead of focusing on individual components, this step emphasizes relationships—how data flows, how decisions are made, and how subsystems interact. Thoughtful architecture makes future modifications easier and reduces long-term maintenance complexity.
Key considerations during this phase include:
- Scalability for future expansion
- Compatibility with existing systems
- Reliability under operating conditions
Keeping the architecture flexible at this stage saves significant effort later.
Step 5: Select Technologies That Fit the Application
Technology selection should always serve the design, not dictate it. Once the architecture is defined, choosing the right hardware and software becomes a practical exercise rather than a guessing game.
The best choices are often those that balance capability, reliability, and support availability. Overengineering increases costs and complexity, while underengineering limits performance and flexibility. The right balance depends on operational priorities and long-term goals.
Technology decisions made here influence system longevity, ease of troubleshooting, and adaptability over time.
Step 6: Develop Control Logic and User Interfaces for the Custom Automation System
Control logic defines how the system behaves under different conditions. It governs sequencing, decision-making, error handling, and recovery. Good control logic prioritizes clarity and predictability, making the system easier to understand and maintain.
User interfaces play an equally important role. Operators should be able to monitor performance, respond to alerts, and make adjustments without unnecessary complexity. Clear visual feedback reduces confusion and supports faster decision-making during production.
Together, control logic and interfaces shape the day-to-day experience of working with the system.
Step 7: Plan for Safety and Compliance Early
Safety should never be an afterthought in automation design. Integrating safety considerations early ensures compliance with relevant standards and protects both equipment and personnel.
This step involves identifying potential hazards, defining safe operating modes, and ensuring proper safeguards are integrated into the system architecture. When safety is designed into the system from the beginning, it enhances reliability rather than restricting functionality.
Proactive safety planning also reduces redesign efforts later in the project lifecycle.
Step 8: Test, Validate, and Refine the Custom Automation System
Before deployment, the system must undergo thorough testing under realistic conditions. Testing verifies that requirements are met, logic behaves as expected, and interfaces support effective operation.
Validation often reveals opportunities for refinement. Minor adjustments at this stage can significantly improve performance and usability. Treating testing as a learning phase rather than a final checkpoint leads to better outcomes.
Well-tested systems transition more smoothly into production and experience fewer early-stage issues.
Step 9: Plan for Deployment and Training
Successful deployment goes beyond installation. Teams need to understand how the system works, how to interact with it, and how to respond to common scenarios. Training ensures the system delivers its intended value from day one.
Clear documentation, structured training sessions, and ongoing support help embed the system into daily operations. This step transforms automation from a technical project into an operational capability.
Step 10: Monitor Performance and Optimize the Custom Automation System Over Time
Design doesn’t end at deployment. Once the system is operational, continuous monitoring reveals how it performs under real-world conditions. Data collected during operation highlights opportunities for optimization and improvement.
Over time, small refinements compound into significant gains. A system designed with adaptability in mind continues to evolve alongside production needs.
Final Thoughts
Designing a custom automation system step by step ensures that technology serves the process—not the other way around. By focusing on clarity, alignment, and structured decision-making, manufacturers can create systems that support consistent performance and long-term operational goals.
A thoughtful design process transforms automation into a strategic advantage, delivering value not just at launch, but throughout the system’s entire lifecycle.