


Blog
How Medical Device Manufacturing Automation Works: Follow a Device Down the Line

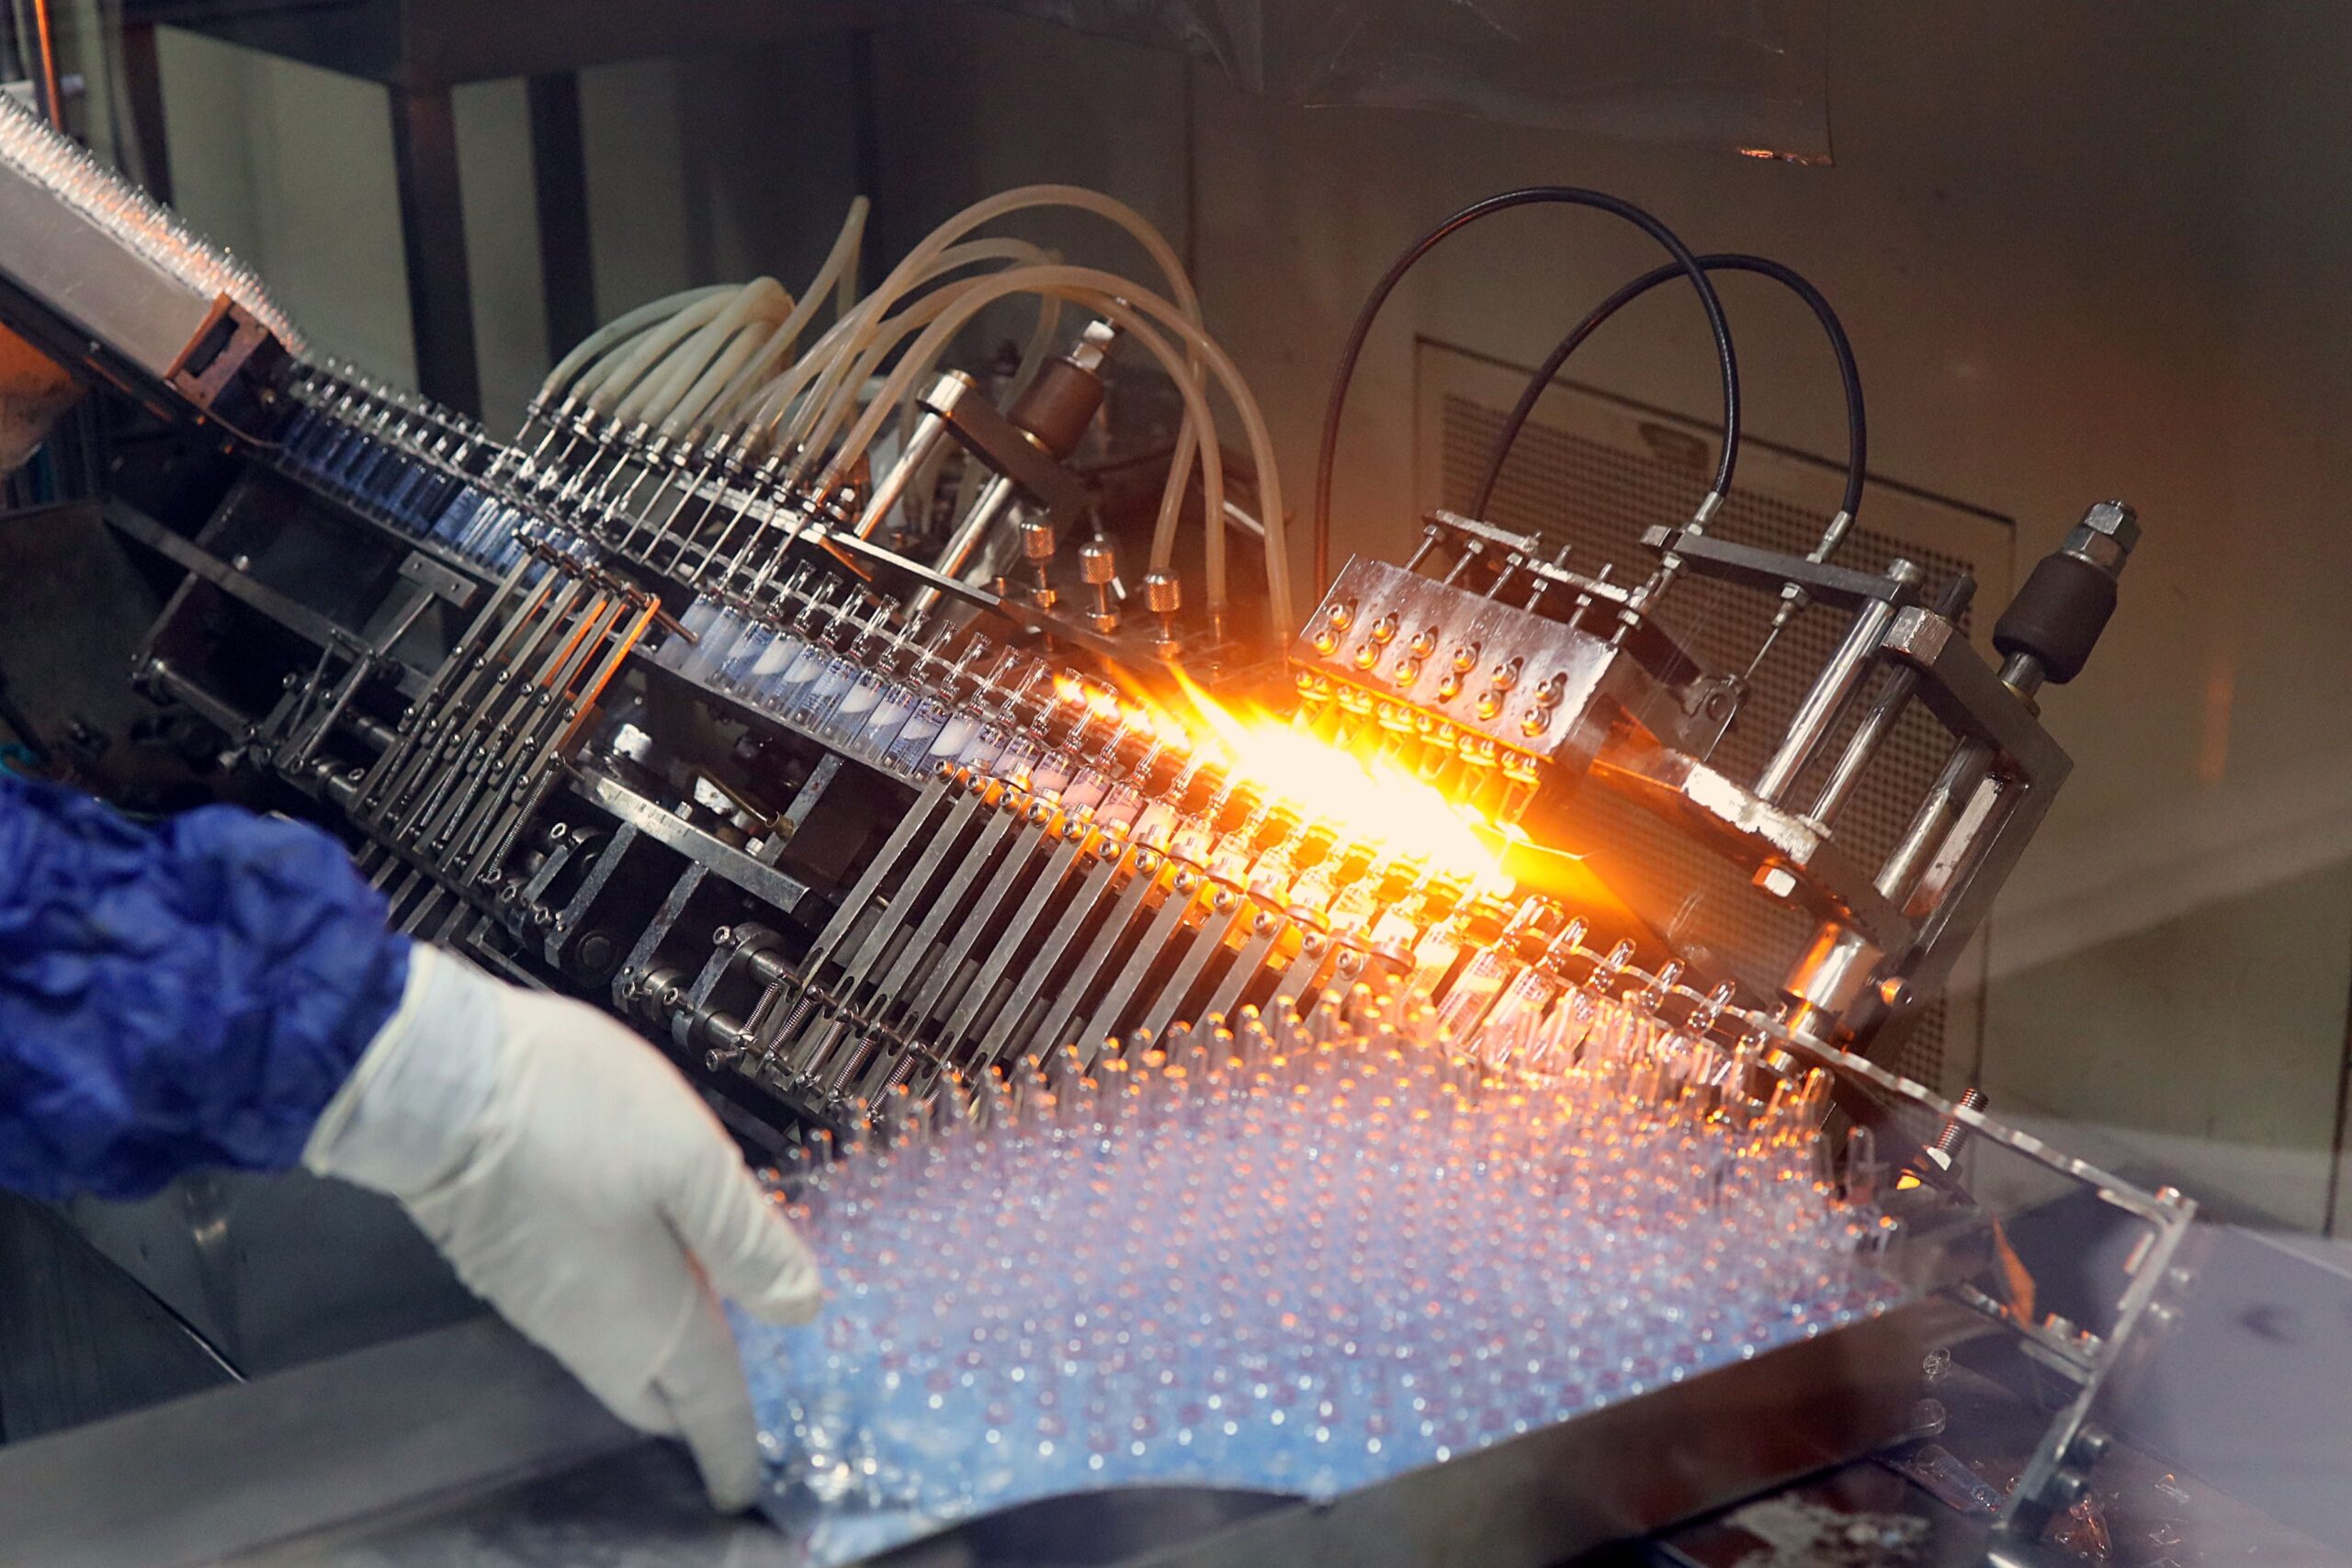
Medical device manufacturing automation uses programmable equipment to handle, assemble, bond, inspect, test, mark, and package devices in a repeatable sequence, while capturing a data record for every unit that comes off the line. A typical automated line feeds tiny components into precise positions, joins them with controlled force or controlled adhesive, checks each result with vision and sensors, runs functional tests, and then marks and packages only the units that pass. Controllers coordinate every step, and software logs the evidence regulators and customers expect.
That’s the process in one paragraph. The details are where the real learning happens, because each stage relies on different technology, and the equipment choices you make at each stage decide whether the line runs smoothly or fights you every shift. This guide follows a device through an automated line, stage by stage, so you can see what each piece of equipment does and why it’s there.
Why Medical Devices Are a Special Case for Automation
If you’ve seen automation in general manufacturing, you might assume medical device lines work the same way. MedTech automation shares the same building blocks as general automation, but the conditions are different enough to change the design.
The parts are small, light, or delicate. A component might weigh less than a paperclip, flex when you touch it, or scratch if a gripper holds it wrong. Standard grippers and feeders often can’t handle it.
The materials vary widely. Devices combine plastics, stainless steel, silicone, elastomers, adhesives, and electronics. Each material behaves differently when you press, bond, or weld it.
Tolerances run tight. A needle alignment, a seal compression, or a fluid path dimension can determine whether the device works safely, so small errors carry real consequences.
Every unit needs a record. Customers and regulators expect proof of what went into each device and how it performed in testing.
Volumes range from thousands to hundreds of millions. A disposable injector part might run at very high speed, while a surgical instrument might run in small batches with many variants.
Validation comes before production. You have to demonstrate that the system performs consistently before it makes saleable product.
These conditions explain why medical device automation solutions look more precise, more monitored, and more documented than their general-industry cousins.
Follow a Device Down the Line
The easiest way to understand medical device production automation is to follow a single device from component to carton. The example below uses a generic multi-part disposable device, though the same stages apply to catheters, wearables, surgical instruments, and many other products.
Stage 1: Incoming Components and Feeding
Everything starts with getting components to the right place in the right orientation. Small plastic parts may arrive in bulk, in trays, or on reels, and the line has to present them one at a time.
Equipment you’ll find here:
- Vibratory bowl feeders and flexible feeders that orient loose parts
- Tray handling systems for parts supplied in nests
- Vision-guided pick-and-place that finds and picks parts from a tray or a feeder surface
- Barcode or data-matrix readers that identify components and record lot information
Good feeding design protects delicate parts from damage and prevents the wrong component from entering the process. In a regulated setting, the system often verifies the component’s identity before it goes any further.
Stage 2: Positioning and Fixturing
Once a part reaches the line, something has to hold it precisely while work happens. Nests, fixtures, and carriers locate each part within tight tolerances, and many lines move parts on pallets or carriers that carry their own identifier.
Equipment you’ll find here:
- Custom nests and fixtures machined or molded to fit each part
- Pallets and carriers with embedded identification
- Servo-driven indexing tables or linear transfer systems
- Clamps and locators that hold parts without distorting them
Fixture design matters more than most people expect. A nest that holds a part a fraction of a millimeter off will cause problems in every downstream step.
Stage 3: Assembly
Assembly steps join components into sub-assemblies and finished devices. Depending on the product, this can involve pressing, snapping, screwing, inserting, crimping, or welding.
Equipment you’ll find here:
- Multi-axis and SCARA robots for flexible placement
- Servo presses and electric actuators that apply controlled force
- Screwdriving stations with torque and angle monitoring
- Ultrasonic and laser welding systems for joining plastics and metals
- Custom end-of-arm tooling designed around the specific part
The key feature of automated assembly in medical technology is monitoring. A servo press records force against displacement, and the system compares that curve against an expected signature. If a part seats incorrectly, the curve looks wrong and the unit gets rejected. That kind of verification turns each assembly step into its own quality check.
Stage 4: Dispensing, Bonding, and Curing
Many devices rely on adhesives, sealants, lubricants, or reagents, and the amount applied often affects performance. Too little leaves a weak bond, and too much can block a channel or contaminate a nearby feature.
Equipment you’ll find here:
- Precision dispensers with closed-loop volume control
- Needle, jet, or valve dispensing heads matched to the fluid
- UV or thermal curing stations
- Vision systems that check bead position and shape after dispensing
Fluid behavior changes with temperature, viscosity, and age, so a good dispensing system monitors and compensates for those variables instead of assuming they stay constant.
Stage 5: In-Process Inspection
Rather than waiting until the end, modern lines inspect throughout. Each inspection catches problems close to where they begin.
Equipment you’ll find here:
- Machine vision cameras with engineered lighting for presence, position, and defect checks
- Laser and optical measurement for critical dimensions
- Force, torque, and displacement sensors built into assembly stations
- Weight checks and other simple sensors for added confidence
Small, shiny, and transparent parts pose lighting challenges, so integrators spend real effort on how they illuminate each part. A camera sees only what the lighting allows it to see.
Stage 6: Functional and Performance Testing
Before a device moves on, many lines verify that it works. Testing methods depend on what the device does.
Equipment you’ll find here:
- Leak and pressure-decay testers for fluid and air paths
- Flow and actuation testers for delivery mechanisms
- Electrical and continuity testers for powered devices
- Calibrated fixtures that exercise buttons, triggers, or moving parts
Because testing protects patients, many manufacturers test every unit and treat any failure as a reason to divert, investigate, and record the result.
Stage 7: Marking, Labeling, and Packaging
Finished devices receive identification and move into packaging. Marking and labeling steps give each device the information it needs, and automated verification confirms that each label is correct and readable.
Equipment you’ll find here:
- Laser markers and printers for identification
- Label applicators with vision verification
- Pouching, tray-loading, and cartoning equipment
- Weighing or counting systems that confirm contents
Mix-ups in labeling and packaging cause serious problems, so automated checks at this stage deserve as much attention as any earlier step.
Stage 8: Data Record and Release
Throughout the line, each station adds to the unit’s record. By the time a device reaches the end, the system holds component lots, process parameters, inspection results, test outcomes, and operator or system actions. Software compiles that information into a record that quality teams review before releasing product.
Medical Device Automation Equipment at a Glance
| Process stage | Typical equipment | What it protects |
| Feeding and handling | Bowl and flexible feeders, vision-guided pick-and-place, ID readers | Part orientation, damage prevention, component identity |
| Positioning | Nests, carriers, servo indexing | Placement accuracy |
| Assembly | Robots, servo presses, screwdrivers, ultrasonic or laser welders | Joint integrity, correct seating |
| Dispensing and bonding | Closed-loop dispensers, curing stations | Bond strength, fluid-path integrity |
| In-process inspection | Vision, optical measurement, force and torque sensors | Early defect detection |
| Functional testing | Leak, flow, electrical, and actuation testers | Device performance |
| Marking and packaging | Laser markers, label verification, packaging equipment | Identification, mix-up prevention |
| Data and control | PLCs, HMIs, SCADA, MES | Traceability, repeatability, audit readiness |
The Control and Software Layer
Equipment does the physical work, but controls and software make a line behave like a system. This layer deserves attention because it decides how stable the process feels in daily use.
PLCs and motion controllers run each station’s sequence. They read sensor inputs, command robots and actuators, and handle error conditions. Well-written code accounts for the unusual events, such as a double-fed part or a sensor flicker, instead of just the perfect cycle.
HMIs give operators a clear view of what’s happening, show alarms in plain language, and let authorized users select recipes or acknowledge faults.
Recipes store settings for each product variant, such as force limits, dispense volumes, and inspection criteria. Selecting a recipe changes the line’s behavior without reprogramming, which supports flexibility while keeping changes controlled.
SCADA and MES platforms gather data from across the line, link it to unit or batch identifiers, and support production reporting. Features like audit trails and user access levels help meet data integrity expectations.
Communication between stations ensures that a unit’s identity and history follow it from one station to the next, so the final record is complete and consistent.
Matching Automation to the Type of Device
Different device types call for different automation strategies, and recognizing the pattern early saves you from buying the wrong kind of system.
High-volume disposables. Items like syringe components, test cartridges, and tubing assemblies often run on fast, dedicated lines with indexing or rotary transfer. The priority is speed, uptime, and inline inspection of every unit.
Low-volume, high-mix products. Surgical instruments and some implants run in smaller batches with many variants. Flexible robotic cells, quick-change tooling, and recipe-driven controls matter more than raw speed.
Electromechanical and wearable devices. Products with circuit boards, batteries, sensors, and housings combine mechanical assembly with electrical testing and sometimes soldering or other specialized processes. Handling static-sensitive parts and verifying function become central.
Drug delivery and combination products. Devices that deliver medication need precise assembly and dose-related testing, and they sit at the crossroads of device and pharmaceutical requirements.
Many manufacturers build more than one type, so a flexible platform strategy often beats a collection of one-off machines.
Deciding How Much to Automate
Not every step needs full automation on day one. Three levels cover most situations.
Manual with guidance. Operators perform the task with fixtures, error-proofing, and verification tools. This approach suits very low volumes or processes still in development.
Semi-automated. A machine performs the critical operation, such as pressing, dispensing, or testing, while an operator loads and unloads. It balances cost and consistency, and it often makes a strong first step.
Fully automated. Parts move and process without manual handling, and the system documents the result. This option fits higher volumes, tight tolerances, and steps where manual variation causes real risk.
Many lines blend the three, automating the steps with the highest variation and risk and leaving others semi-automated until volume justifies more. Choose based on volume, tolerance, risk, and how stable the product design is. Automating a design that still changes every month can waste effort.
Technical Challenges That Shape Equipment Choices
Experienced builders plan for a recurring set of challenges.
Tiny, light parts. They stick to grippers, jump from tweezers, and respond to air currents. Designers use specialized grippers, vacuum tools, and carefully designed feeders to control them.
Static electricity. Plastic parts often hold charge, which makes them cling to surfaces or attract particles. Ionization and thoughtful material choices help.
Tolerance stack-up. Small variations in several parts can add up to a problem in the finished device. Inspection and compensation at each stage keep the total under control.
Variable adhesive and fluid behavior. Viscosity shifts with temperature and age, so dispensing systems monitor and adjust.
Reflective, clear, or low-contrast parts. Vision systems need engineered lighting to see them reliably, and testing with real parts early avoids unpleasant surprises.
Frequent changeovers. Quick-change fixtures, recipe selection, and verification routines keep transitions short and controlled.
Cleanliness requirements. Equipment that operates in cleanrooms needs low-particulate design, cleanable surfaces, and thoughtful layouts.
What a Good Medical Device Automation Solution Includes
When you evaluate a proposal, look beyond the equipment list. A complete solution typically covers:
- A clear definition of requirements and acceptance criteria
- Mechanical design, including fixtures and tooling built around your actual parts
- Controls and software design with audit trails, access levels, and recipe management
- Inspection and test strategy matched to your risk points
- Data collection and traceability features
- Documentation and testing that support validation
- Training for operators and maintenance staff
- Spare parts and service planning
If a proposal covers only hardware, ask how the partner plans to handle the rest.
A Simple Path to Get Started
- Document the process as it runs today, including cycle times, scrap causes, and variation points.
- Identify the steps where manual variation or risk matters most. These usually make the best first candidates.
- Test your real parts early. Feeding, gripping, and vision trials reveal problems long before you build a full system.
- Choose the automation level for each step based on volume, risk, and design stability.
- Involve quality early so validation and documentation needs shape the design.
- Plan for the next product, building flexibility into tooling, controls, and data structures.
- Start with a focused project, prove the approach, and then extend it.
Putting the Pieces Together
Medical device manufacturing automation looks complicated until you follow a device down the line. Then the logic shows through: feed the parts precisely, position them reliably, join and bond them under control, inspect and test as you go, mark and package with verification, and record everything. The technology at each stage is well understood, and the real skill lies in matching it to your product, your tolerances, and your regulatory environment.
Fenbotics, based in Lancaster, South Carolina, provides factory automation solutions for various industries, like for medical device manufacturers who want that kind of coordinated, well-documented production. Our team designs the robotics, fixtures, dispensing, vision, and controls as one system, and we test with your real parts early, so the equipment fits your device instead of forcing your device to fit the equipment. We build with validation and traceability in mind from the first design review. If you’re weighing a first automated cell or trying to improve a line that already runs, we’re happy to walk through your process and help you find the best place to begin.